DIY Dream House: How to Make a Magical Dollhouse from Cardboard
There’s something truly special about a dollhouse. It’s a miniature world of possibilities, a canvas for imagination. While the history of dollhouses shows us centuries of intricate, museum-worthy creations, you don’t need expensive kits to build a home for tiny inhabitants. You can create a sturdy, beautiful, and completely custom dollhouse using one of the most accessible materials around: cardboard! This guide will walk you through every step, from planning your design to cutting the walls and decorating the rooms. Let’s build something amazing together.
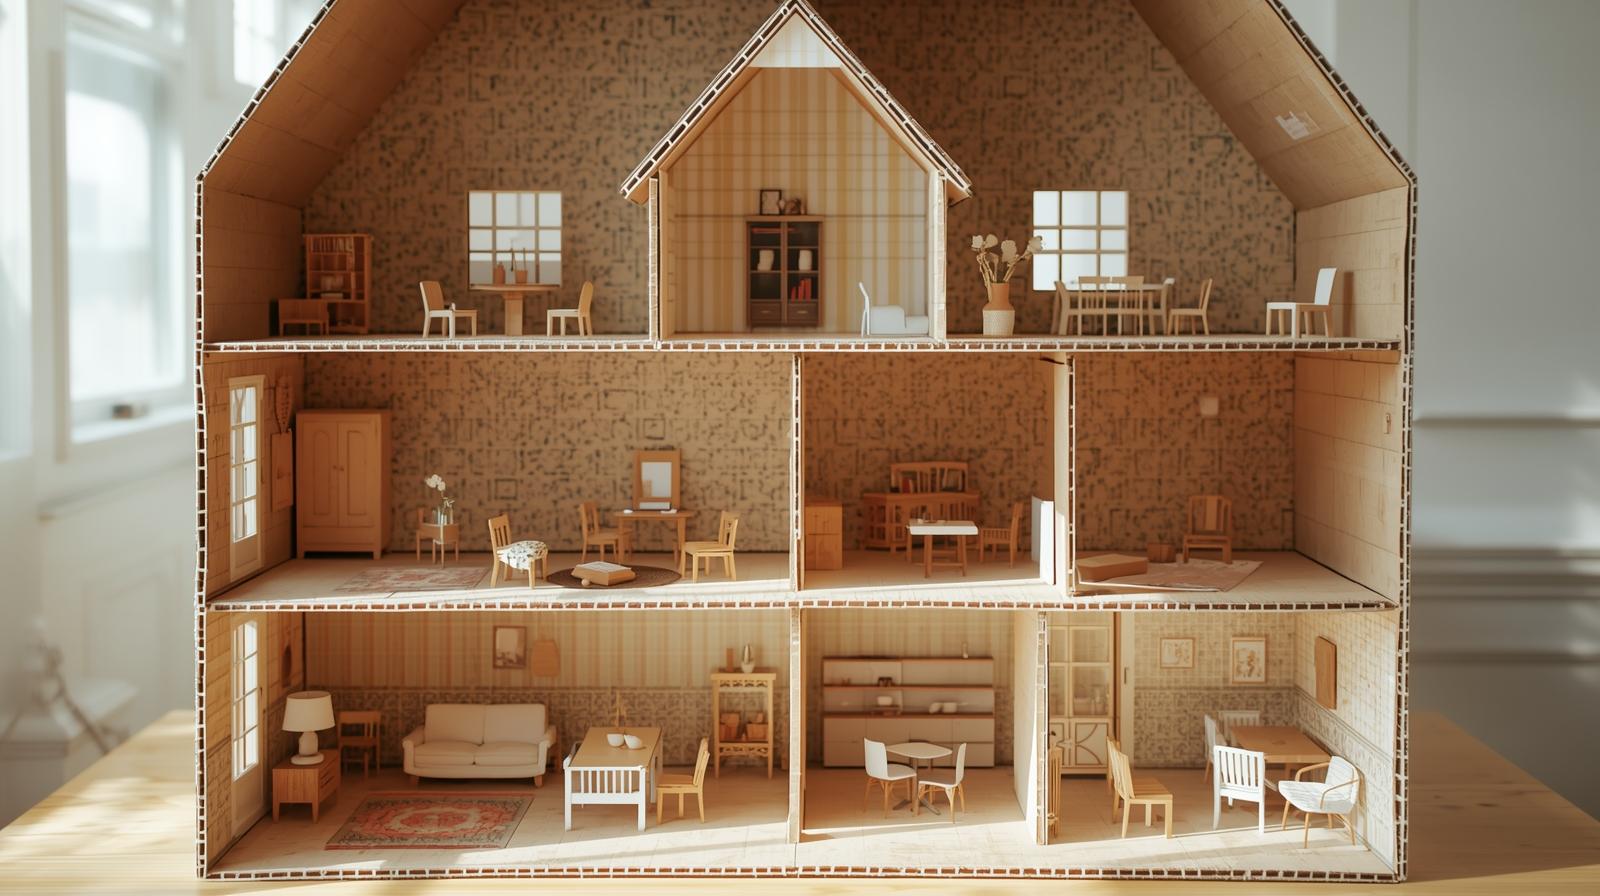
With a few boxes and some imagination, you can create a one-of-a-kind dollhouse.
Why Cardboard is the Perfect Material
Before we dive in, let’s talk about why cardboard is such a fantastic choice. First, it’s eco-friendly and budget-friendly—you can upcycle shipping boxes you already have. Second, it’s incredibly versatile. You can cut it, bend it, paint it, and glue it with ease. It’s forgiving for beginners but also allows for complex designs for more experienced crafters. This project is perfect for a rainy weekend, a fun activity with kids, or a relaxing creative outlet for yourself.
Phase 1: Planning Your Masterpiece
The secret to a great dollhouse is a little bit of planning. Don’t just start cutting! Take a few minutes to think about your design. Ask yourself:
- What’s the scale? Will this house be for Barbie-sized dolls (1:6 scale) or smaller figurines (like 1:12 scale)? This will determine the height of your rooms and the size of your furniture. A good rule of thumb for Barbie is 12-14 inches per floor. For smaller dolls, 8-10 inches is plenty.
- How many rooms? Will it be a simple two-room cottage or a multi-story mansion? Sketch a rough layout. A classic design is a four-room house (two up, two down) with an attic space under the roof.
- What’s the style? Modern and minimalist? A cozy, traditional home? A magical fairytale castle? Your chosen style will guide your decisions on windows, doors, and decorations.
My personal tip: Grab a notebook and sketch out the front of the house and a floor plan. It doesn’t have to be perfect! This simple step will save you a lot of headaches later and make the building process so much smoother.
Gather Your Crafting Arsenal: Essential Supplies
Having the right tools makes all the difference. Here are the must-haves for this project, all easily found on Amazon.

Precision Craft Knife Set
For clean, sharp cuts that scissors just can’t match. This is the #1 most important tool for a professional finish. Essential for windows and doors.
View on Amazon
Self-Healing Cutting Mat
Protects your table and helps you make straight cuts. The grid lines are also incredibly helpful for measuring and alignment.
View on Amazon
High-Temp Hot Glue Gun
The fastest and strongest way to assemble your cardboard structure. It creates an instant, solid bond. Tacky glue is a good, safer alternative for kids.
View on Amazon
Metal Safety Ruler
A plastic ruler will get nicked by your craft knife. A sturdy metal ruler is essential for safe, perfectly straight cuts every single time.
View on AmazonOther Materials You’ll Need:
- Lots of Cardboard: Large, sturdy boxes are best (like appliance or moving boxes). Look for double-walled cardboard for the main structure if you can find it.
- Pencil and Eraser: For marking your cuts.
- Measuring Tape or Large Ruler: For measuring your pieces.
- Optional Decorating Supplies: Scrapbook paper, wrapping paper, craft paint, fabric scraps, popsicle sticks, etc.
A Quick Word on Safety! [Please Read]
Craft knives are extremely sharp. This part of the project should always be done by an adult or with very close adult supervision. Always cut away from your body and keep your fingers clear of the blade’s path. Using a sharp, new blade is actually safer than a dull one, as it requires less pressure and is less likely to slip.
Phase 2: The Step-by-Step Building Guide
1Cut Your Main Pieces
Based on your sketch, it’s time to cut the main structural walls. For a simple rectangular house, you will need:
- 1 Back Wall: This will be the largest piece. A good starting size is 24 inches wide by 30 inches tall.
- 2 Side Walls: These should be the same height as your back wall. The depth can be whatever you like—12 inches is a good standard depth.
- 1 Base Floor: This should be the same dimensions as your top-down view (e.g., 24 inches wide by 12 inches deep).
Lay your cardboard on the cutting mat. Use your metal ruler as a guide and carefully score the cardboard with your craft knife 2-3 times. Don’t try to cut through it all in one go. This technique gives you a much cleaner edge.
2Assemble the Main Frame
Time to bring it to life! Heat up your hot glue gun. Run a bead of glue along the bottom edge of your back wall and press it firmly onto the back edge of your base floor piece. Hold it for about 30 seconds until the glue sets. Now, run glue along the side and bottom edges of a side wall and attach it to the base and the back wall, forming a corner. Repeat with the other side wall. You should now have a sturdy, three-walled box on a base.
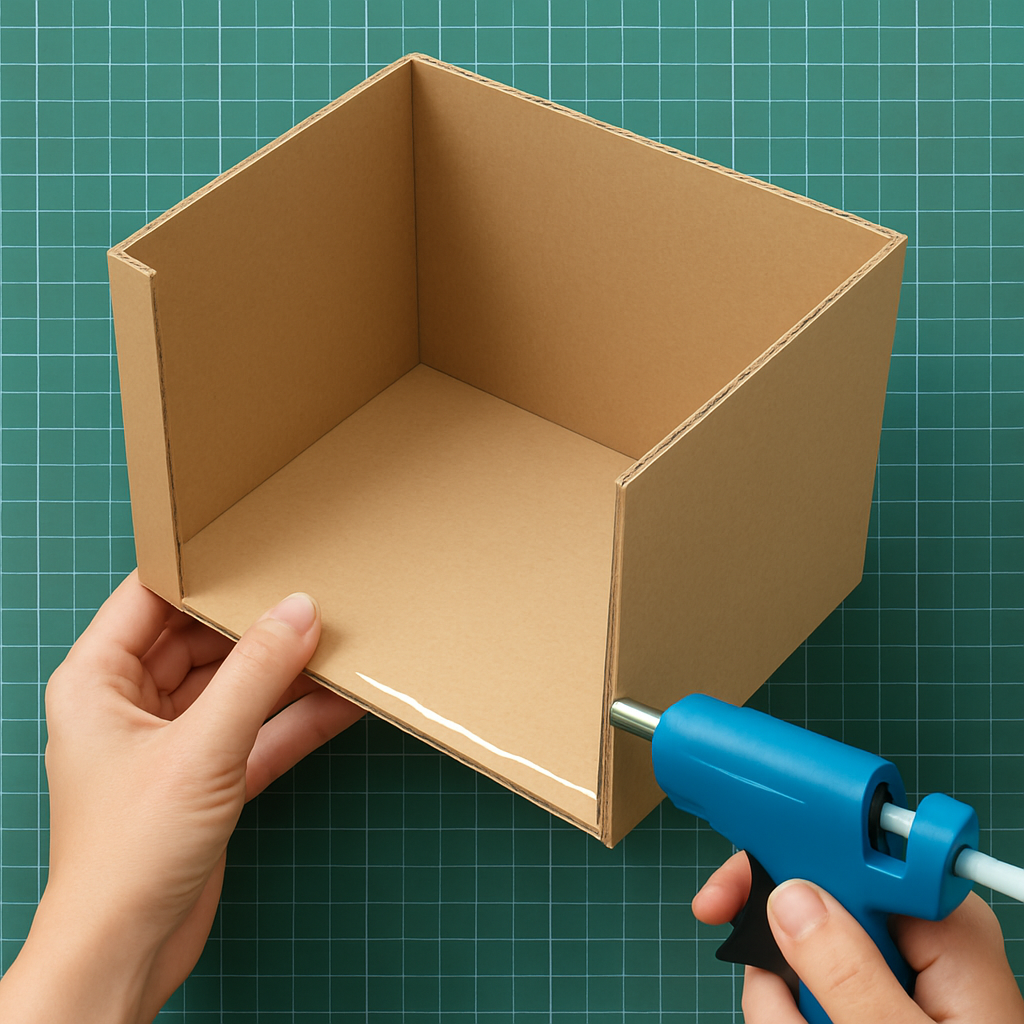
A line of hot glue creates a strong, fast-setting bond for the frame.
3Add the Floors and Dividers
Measure the interior width and depth of your house frame. Cut a piece of cardboard to this size—this will be your second floor. To install it, measure your desired ceiling height (e.g., 14 inches) up from the base on all three walls and draw a level line. Run a generous bead of hot glue along these lines and carefully slide the floor into place, pressing it firmly against the glue lines. Hold until secure. You can add room-dividing walls on any floor using the same method.
4Craft the Roof
The roof adds so much character! The easiest way to make a classic pitched roof is:
- Cut two identical, large rectangles for the roof panels. They should be wider than the house is deep to create eaves.
- Create the gable ends. Cut two triangles to fit on top of the side walls. The peak of the triangle will determine the pitch of your roof. Glue these onto the top of your side walls.
- Attach the roof panels. Glue one roof panel to one side of the gable ends. Then, run a bead of glue along the top edge of that panel and attach the second panel, forming the peak of the roof.
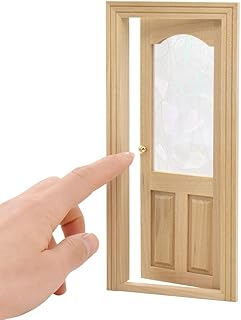
5Cut Windows and Doors
Your house needs light and entryways! Before you do any major decorating, decide where you want your windows and doors. Lightly draw them on with a pencil. Using your sharp craft knife and metal ruler, carefully cut them out. Remember the rule: measure twice, cut once! It’s much easier to do this now than after you’ve painted or wallpapered.
Phase 3: Bringing Your House to Life
6Decorate, Decorate, Decorate!
This is where your dollhouse develops its personality! The possibilities are endless.
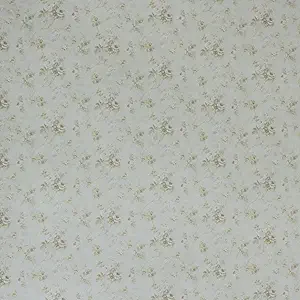
- Walls: You can paint the walls with acrylic craft paint. For “wallpaper,” scrapbook paper or even nice wrapping paper works perfectly. Use a glue stick or Mod Podge for a smooth, bubble-free application.
- Floors: For “hardwood,” use popsicle sticks glued side-by-side. For “carpet,” a piece of felt or fleece works beautifully. For “tile,” you can draw a grid on white paper or use checkered scrapbook paper.
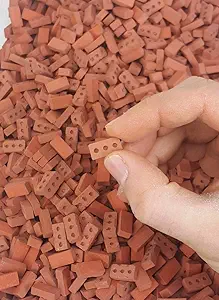
- Exterior: You can paint it, or for a brick effect, cut small rectangles out of a kitchen sponge, dip them in red/brown paint, and stamp them on. Popsicle sticks can be used to create siding.
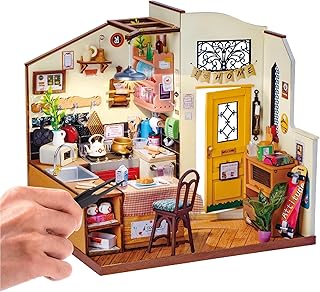
Think about the individual rooms. Maybe you want to explore some rustic dollhouse kitchen ideas with wooden-bead cabinet handles, or create a peaceful sanctuary with these dollhouse bedroom ideas using soft fabric scraps for bedding.
7Furnish Your Miniature Home
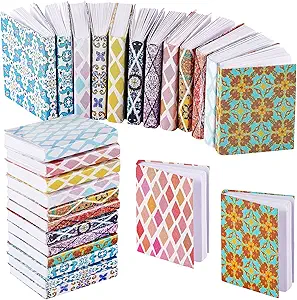
Your house is now a home, ready to be filled. You can continue the DIY theme by crafting furniture from cardboard scraps, bottle caps, and matchboxes. However, if you want to add some more detailed pieces, you can find incredible miniature items online. Check out guides on the best dollhouse furniture to get ideas for your rooms. Don’t forget the little details! The right dollhouse accessories, like tiny books or plates of food, are what truly make it feel lived-in.
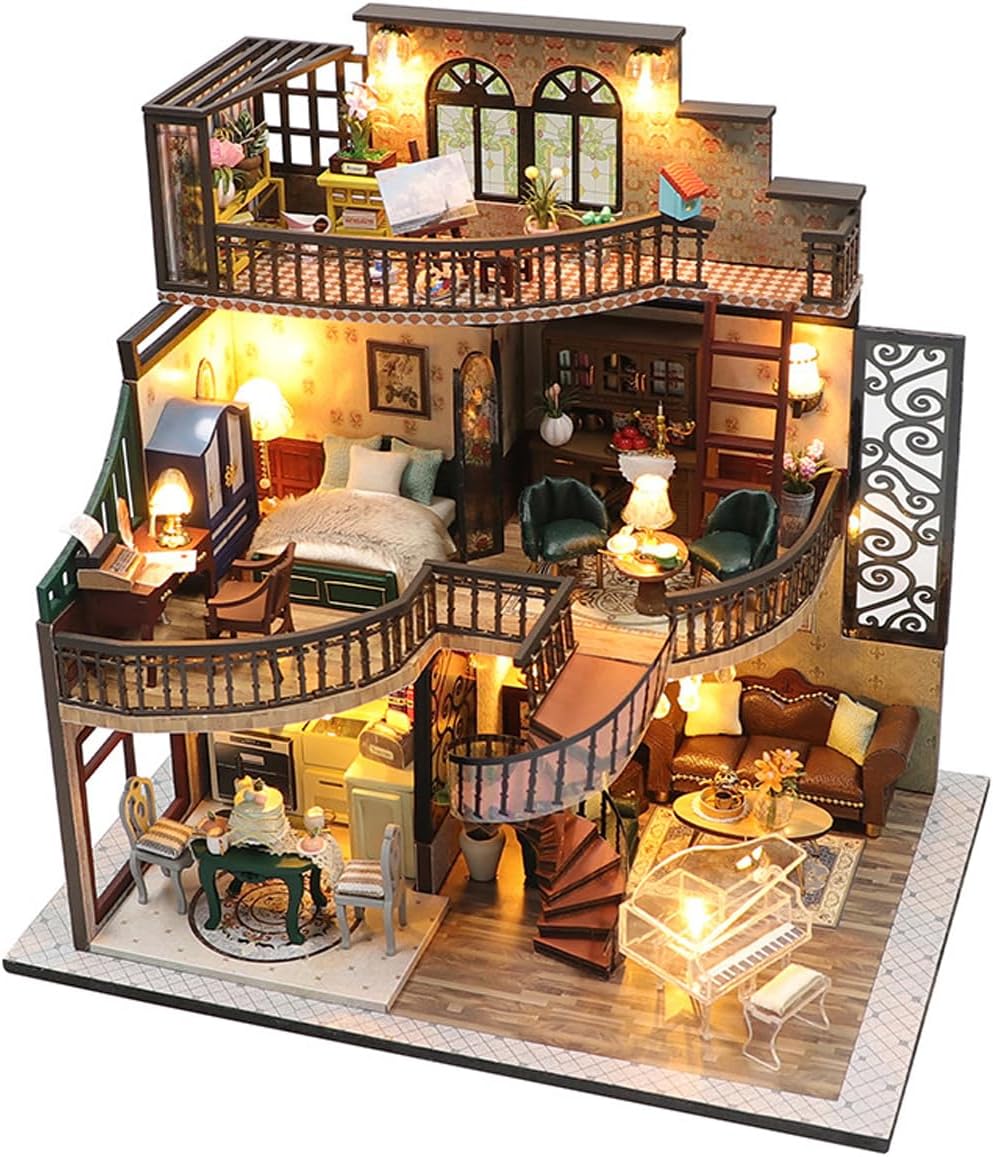
8Level Up Your Design
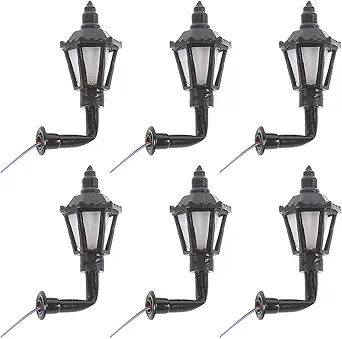
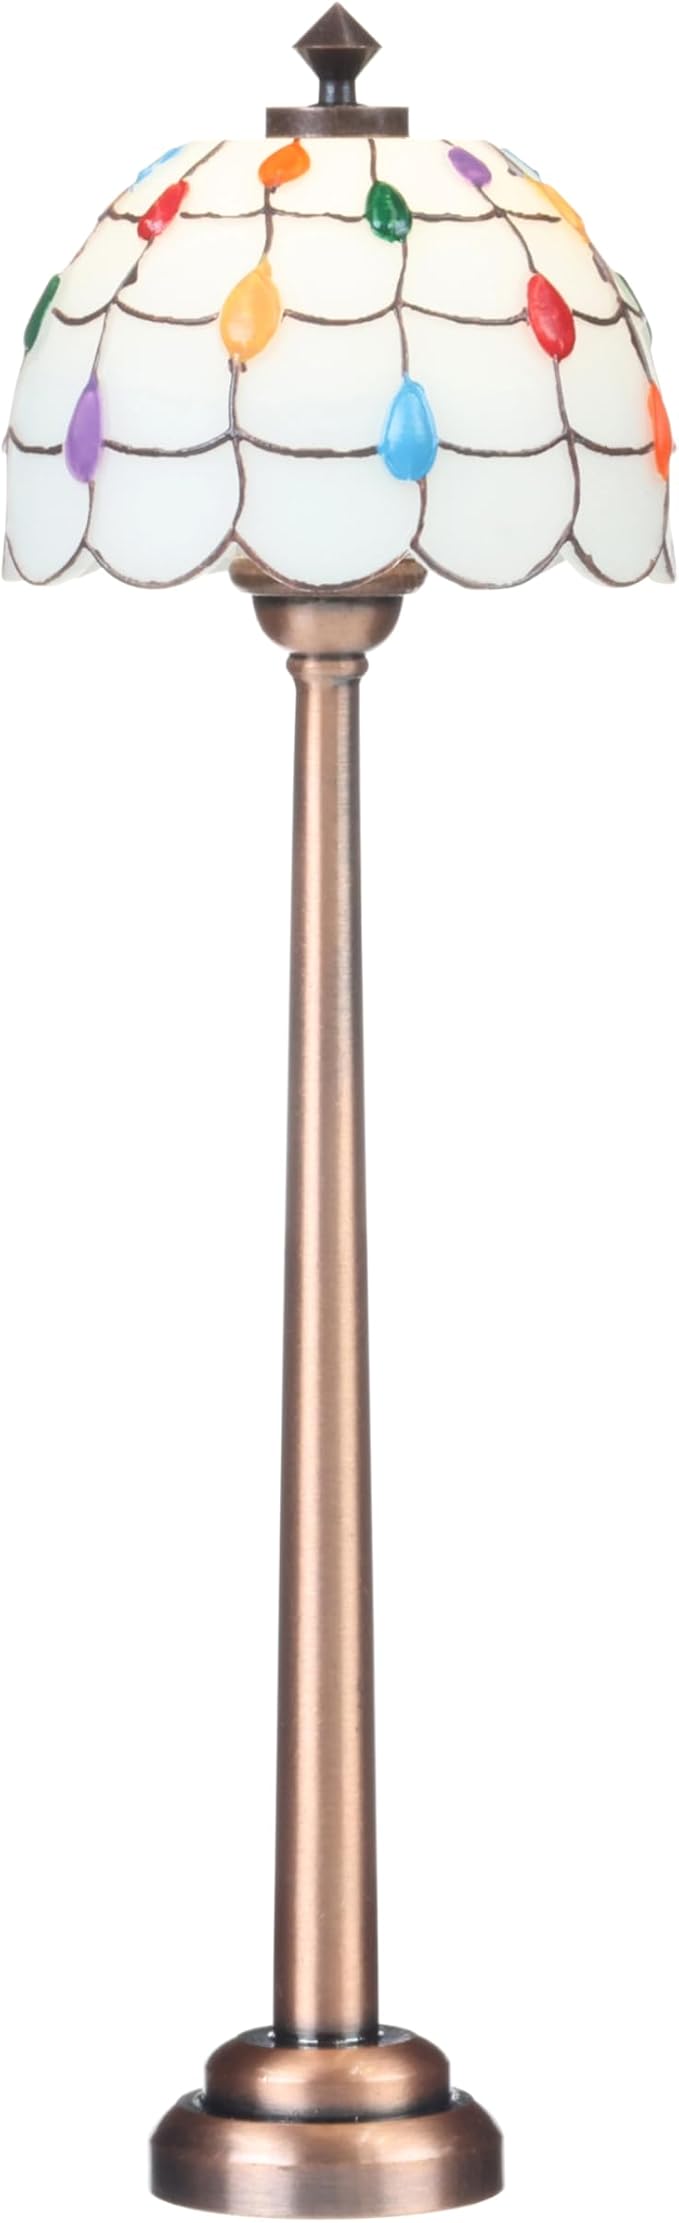
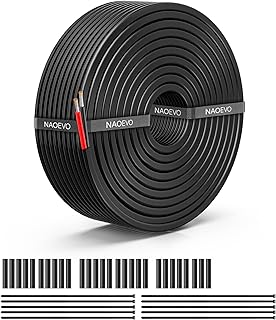
Feeling ambitious? Why stop here? You can add balconies from smaller cardboard pieces, create a staircase using folded cardboard, or even add a porch. For a truly magical touch, consider adding lights. You don’t need to be an electrician; there are simple battery-powered LED kits that are perfect for dollhouses. A dollhouse lighting kit can make your creation absolutely breathtaking at night.
Your DIY Dollhouse Questions Answered
How can I make the cardboard stronger?
To reinforce your structure, you can “laminate” it by gluing two or three layers of cardboard together, making sure the corrugated lines run in opposite directions. You can also coat the finished house in a layer or two of Mod Podge, which dries clear and hard, adding significant strength.
What’s the best paint to use on cardboard?
Standard acrylic craft paint is perfect. It’s inexpensive, comes in tons of colors, and dries quickly. For best results, apply a coat of white gesso or plain white paint as a primer first. This stops the brown of the cardboard from dulling your colors.
Is hot glue safe for kids to use?
High-temperature hot glue guns get very hot and can cause burns. For younger children, a low-temperature glue gun is a safer option. Alternatively, a thick, white PVA glue like Aleene’s Tacky Glue is a great non-heat choice, it just takes longer to dry.

About the Author
Mark Campbell is a professional prop maker and lifelong DIY enthusiast with over 20 years of experience turning everyday materials into extraordinary creations. He has led crafting workshops for families and schools across the country, specializing in projects that are accessible, affordable, and spark creativity. When he’s not covered in paint and glue, he’s busy designing his next miniature world.


Plunge into the epic galaxy of EVE Online. Test your limits today. Fight alongside thousands of pilots worldwide. [url=https://www.eveonline.com/signup?invc=46758c20-63e3-4816-aa0e-f91cff26ade4]Play for free[/url]
Pingback: Gabby’s Dollhouse Explained: Controversy, LGBTQ Themes, and Parental Concerns
Pingback: Dollhouse Roof Shingles: Ideas, Materials & DIY Tutorials